Start with 1–2 kg to test fit and form, then add 0.5–1 kg each week only if you stay pain‑free. For beginners, target 5–10% of your body weight (about 7–14 lb for a 140‑lb person). Use little loads first to learn signals, test daily, and keep sessions to 10–20 minutes. If joints throb or breathing struggles, dial back immediately. Track reps, posture, and mood-you’ll learn how to progress safely and smartly on this journey together.
Why start light, right from the get-go? You feel relief, not guilt. Starting light teaches you control, not chaos. You’ll learn form, tempo, and how your joints react. Beginners often overestimate strength; underestimating can backfire with strains or skipped workouts. So choose a light test weight to test, then adjust by 1–2 pounds per week. Mastering bodyweight exercises first can establish a strong foundation before adding external load. Here’s a quick guide to ease in:
Progress happens in small steps. You stay safe, stay consistent, keep smiling. You got this!
Trust the pace, log each session, and celebrate tiny wins. Soon you’ll notice form and fewer setbacks on your journey today.
If you’ve found a light start, great.
Let’s pin down what 5–10% means.
That means a vest weighing about five to ten pounds for a 100-pound person at minimum.
Adjust by your weight today carefully.
If you weigh 140 pounds, 5–10% is seven to fourteen pounds.
That variation feels real, not magic.
Use a scale balance approach or a small sandbag to test it, then walk around, check form, breath, and comfort.
Record how you feel after ten minutes.
If even light loads squeeze your chest or make you woozy, dial back now, no heroics, seriously.
Keep it practical, fun, and safe.
This approach aligns with how exercises scale up or down based on your individual fitness level and tolerance.
Start with zero or a tiny load to learn your body’s signals before you pile on weight. You’ll notice how you feel during every move. Keep it simple, friend, and test daily. Start with 0.5–1.0 kg (1–2 lb) if you’re new to vests; go slower if you’re tall or aged 40+. Use a pace you can sustain for 10–20 minutes without grimacing. When unsure, pause and reassess. Signs to stop: sharp pain, dizziness, or trouble breathing. Basics: warm up five minutes, then test 3 sets of 3 minutes with light load. Progress by adding 0.5 kg after two weeks if you tolerate it. Tips: track reps, form, and heart rate. Focus on maintaining proper form during bodyweight movements before adding external load to your vest. Stay curious, brave, and consistent! You got this, future champ-keep it steady and smart
How do you pick your starting load for a weighted vest that actually sticks?
Think in practical chunks, not giant leaps.
Your goal is a load you can walk, breathe, and talk through-without grinding, pain, or wobble.
That pace keeps you steady.
If you notice form slipping, drop back to the previous safe weight and reassess weekly.
A proper warm-up before adding weighted resistance helps prepare your joints and muscles for the increased load.
You’ve got this-progress compounds, patience compounds more.
Progress comes with smart, steady effort everyday.
Ever wonder why conditioning comes before heavy vests? Conditioning builds stamina, protects joints, and helps you handle workouts better. Start gentle; ramp up gradually. Start 4 weeks of bodyweight work, then add vests after form. Exercises like wall push-ups and assisted squats are perfect entry points for building foundational strength during this conditioning phase.
Keep sessions consistent, not perfect. If you miss a day, don’t panic; adjust quickly and stay curious about what your body tells you.
Hydration and sleep matter, too. That combo fuels faster gains, reduces soreness, and makes future vest work safer and more fun.
Why sacrifice form when you lift smarter?
Your form keeps you safe and strong.
Tempo guides your speed, stopping cheating reps and protecting joints, like following a rhythm beat in a workout song.
Move through reps with control, not chaos.
Range of motion means stopping short of pain and full lockouts, keeping tension where it counts.
Track ROM with simple checks.
If you feel pinch, back off weight and depth; progress slowly like a new movie sequel.
Slower tempos increase time under tension, which significantly boosts strength gains and muscle growth stimulus compared to rushing through movements.
Stay curious, keep practicing, stay safe.
Celebrate small gains weekly; your joints thank you with fewer injuries and better pulls overall.
As you add weight, stay deliberate. You progress by small steps, not giant leaps, so plan every change. Start with 2 kg or 5 lb, then add 1 kg or 2 lb each week when you can move well. Track effort, reps, and form, not just how heavy you feel. If you stall, pause, reassess, and keep consistency. Use these practical checks:
Gradual pacing helps you build capacity without losing form. Expect 4–6% weekly improvements, or you’ll crash. Celebrate small wins, stay curious, and avoid rushing! You’ve got this, champ. Remember safety first, listen to body signals, and progress with patience every time.
Pushing hard comes with warning signs. You’re not the problem-you’re learning. If you notice chest tightness, lightheadedness, or a wobble, pause and reassess your load, pace, and form, friend. Your body gives clear, honest hints. Resting heart rate spikes above normal, fatigue worsens, or joints ache for days; these signals mean backing off. Log outcomes for quick checks. Track mood, sleep, and soreness for 3–4 days after changes; if trends rise, scale back weight 5–10%. Consider pairing your weighted vest with ankle and wrist weights* for balanced strength development across major joints.
When in doubt, test a lighter vest for a week, observe your energy, and keep progress steady and safe. Your best guide is how you feel daily inside.
Ever wondered how to start training with a vest without wrecking your progress? You’ll ease in with clear weeks, simple goals, and steady momentum you can feel daily. Start light, add 0.5–1 kg weekly. Week by week, plan three workouts: walk or jog, incline pushups, and controlled squats with the vest. Keep sessions 20–30 minutes at first. Rest days matter; label them as recovery, not excuses, and track fatigue with a simple score. Hydration and sleep lock in gains. Example week: Mon 25 minutes, Tue 0, Wed 25, Thu 20, Fri 0, Sat 30, Sun rest. Adjust in small steps, not shocks. Keep a tiny checklist: weight, reps, tempo, and mood, to stay consistent without burning out each single week. Like choosing the right exercise mat thickness*, selecting appropriate vest weight ensures proper support and comfort during your fitness routine.
Now you started light; add heavier loads. You’ll gain strength safely by pacing, not guessing. Start with 6% of your body weight. For a 150-pound person, that’s 9 pounds. Increase by 2 pounds every session if you feel good. Track reps, not just miles. You’ll build confidence and avoid injuries. Incorporate bodyweight exercises like planks and glute bridges alongside weighted vest training to build a balanced fitness foundation.
What to do this week:
Common pitfalls, friendly reminders: don’t rush, respect your joints. Progression beats perfection, and progress sticks like your favorite gym montage! Stay curious, stay consistent, and have fun! If you’re unsure, talk to a coach and log your feelings weekly.
Reassess every 4–6 weeks, or whenever you notice pain, fatigue, or a plateau; adjust gradually. If goals shift or progress stalls, review vest weight sooner, and ensure you can maintain form throughout workouts during sessions.
Yes, a vest can affect your joint health, especially if you start heavy or misalign your form; it can stress knees, hips, and ankles. Use proper progression, braces when needed, and listen to discomfort early.
Yes, age matters. If you’re a minor, you should get clearance and supervision before using a weighted vest. For you, keep loads light, limit duration, and monitor joints; adults still start modestly and progress cautiously.
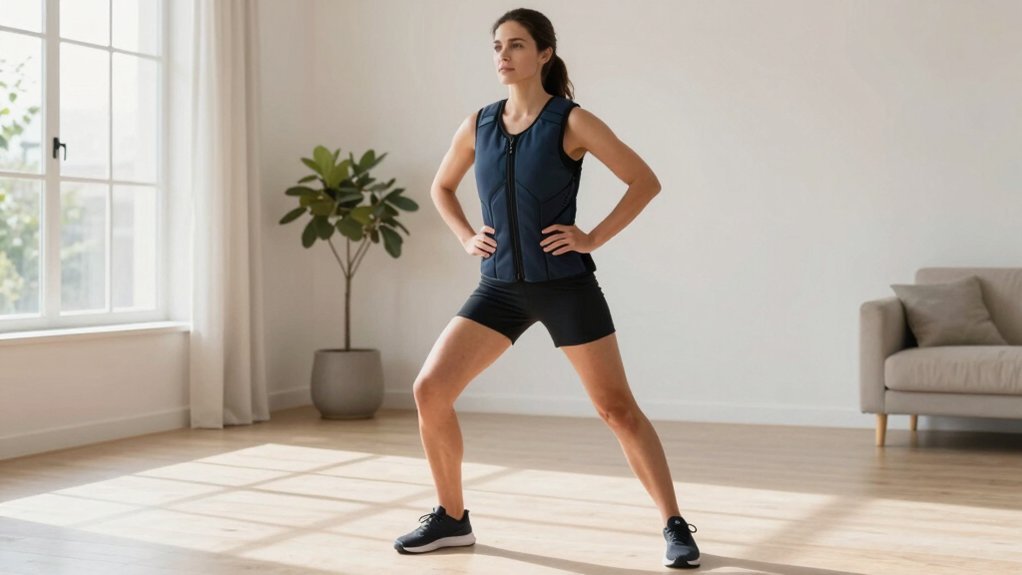
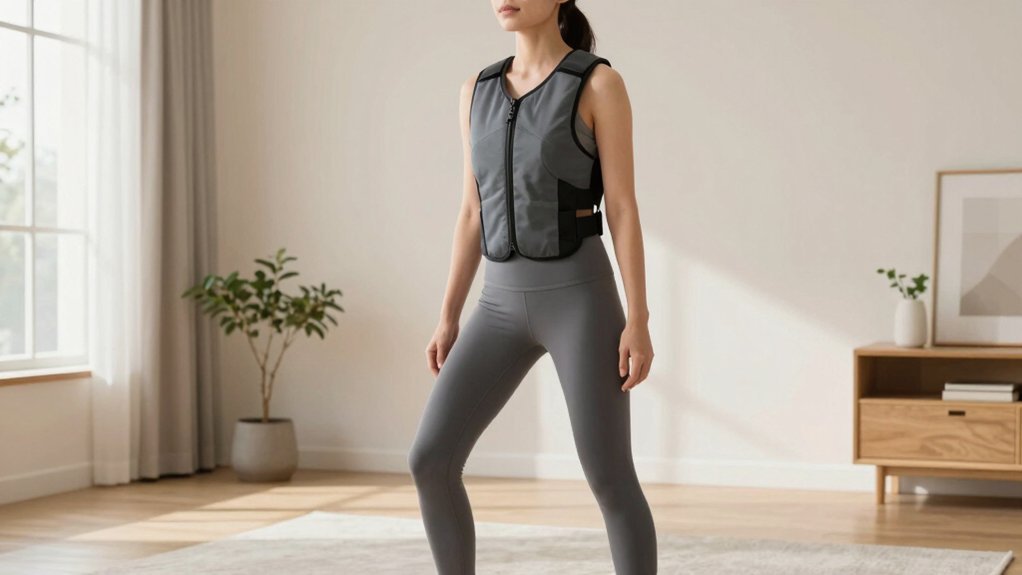
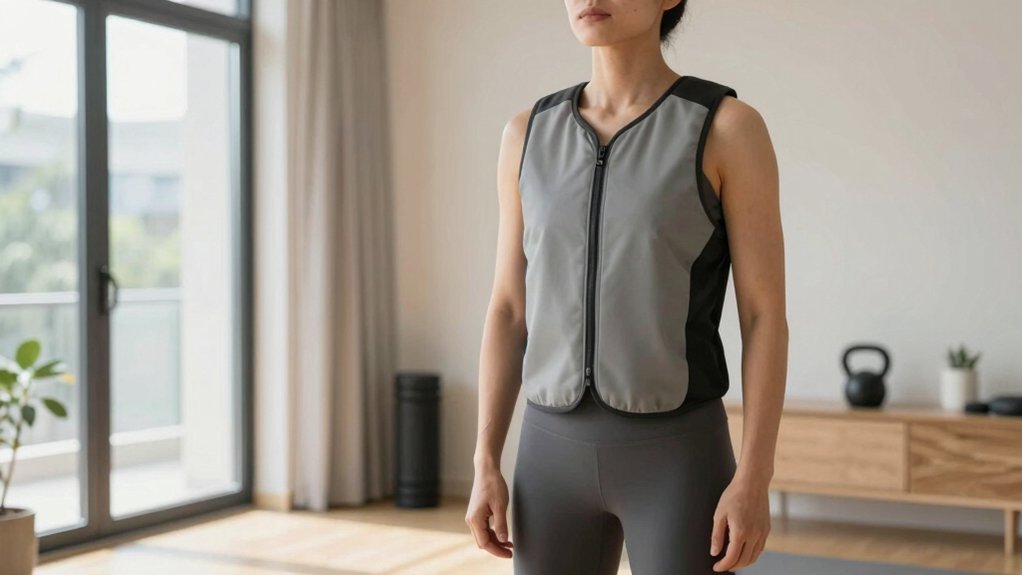
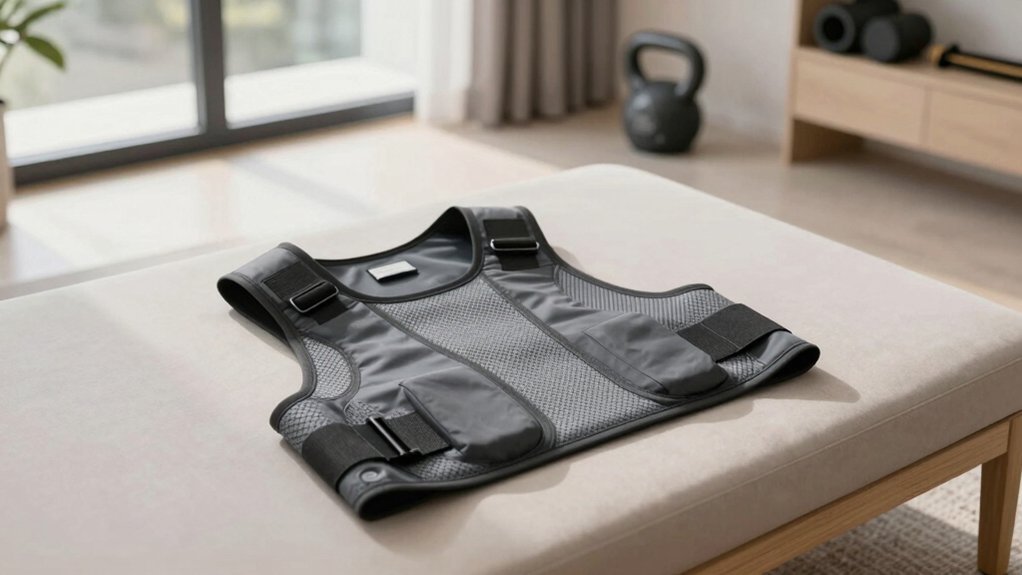
Polyester blends with breathable mesh are ideal for beginners, offering durability, comfort, and easy adjustment. You’ll want a snug fit, lightweight pockets, and reinforced seams so you can train longer without irritation or any bulk.
You should avoid wearing a weighted vest during mobility and focus on bodyweight work or light loads, then reserve the vest for strength days with proper progression and supervision to prevent injury and adequate recovery.
You’re ready to cap your vest journey with smart steps. Start light, 5–10% of body weight, and progress gradually. Watch form, breath, and soreness, not excuses-progress earns respect. Progress safely: add 1–2 pounds per week. If pain spikes, back off immediately and reassess. Train 2–4 days weekly, mixing cardio, mobility, and strength. Keep notes, celebrate small wins, and stay curious about safe limits.
Stay patient, stay strong.