My knees staged a protest somewhere around month three of daily squats. Weighted Vest Lower Body Workout is what this comes down to. I did them weighted, doing them deep, doing them every other day, and my left knee started making a sound I can only describe as someone slowly unwrapping a granola bar. That was when I started hunting for a lower body routine that didn’t revolve around squats, and honestly? What I found worked better for my glutes than anything I’d been doing before.
Throwing a weighted vest into the mix changed everything. I’ve got a 20lb adjustable one I grabbed secondhand, and it just sits on the floor next to my couch most days, but when I strap it on for lunges or step-ups onto my back porch stairs, the burn is different. It loads your legs in a way that feels more natural than holding dumbbells, and it frees your hands up so your form doesn’t fall apart mid-rep.
This is the exact rotation I came back to after my knee drama, and it hits your hamstrings, glutes, and hips without a single squat in sight. The hip hinge stuff especially, Romanian deadlifts with a vest on will humble you fast if you’ve been sleeping on them. Here’s how I set it all up.

Ready to tune your vest for legs?
First, size it snug, not tight.
Choose a vest with adjustable straps and 2-6 pounds of added weight to start, then scale as you improve.
Check front and back balance every session.
Center the load over your hips, not your chest, so you don’t tilt forward or backward.
Use a scale to verify weight.
Safety first, progress second.
Since multijoint movements train functional patterns that transfer to real-world activities, weighted vest training builds strength you’ll use every day.
Stay steady, smart.
How can you step up leg day?
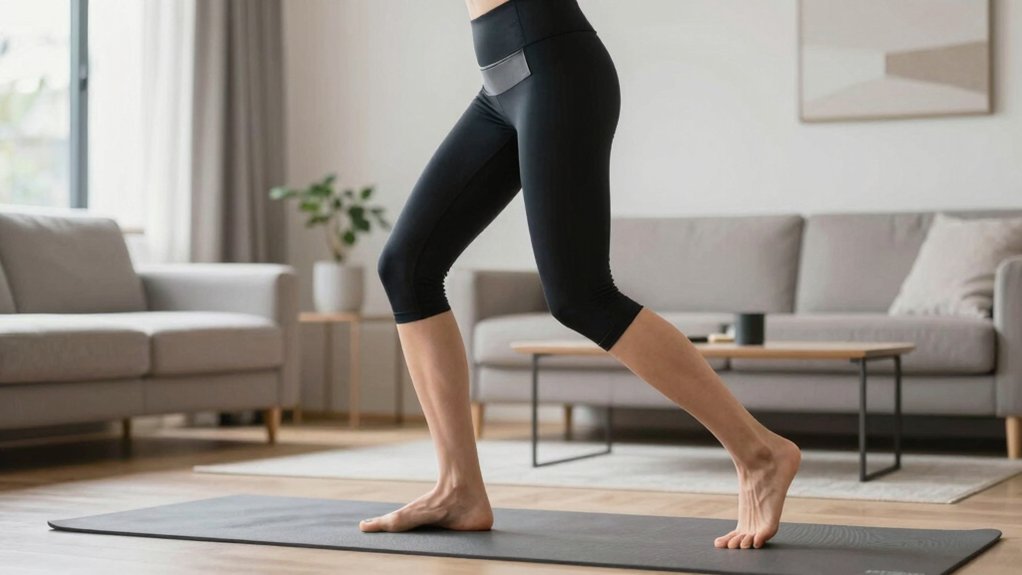
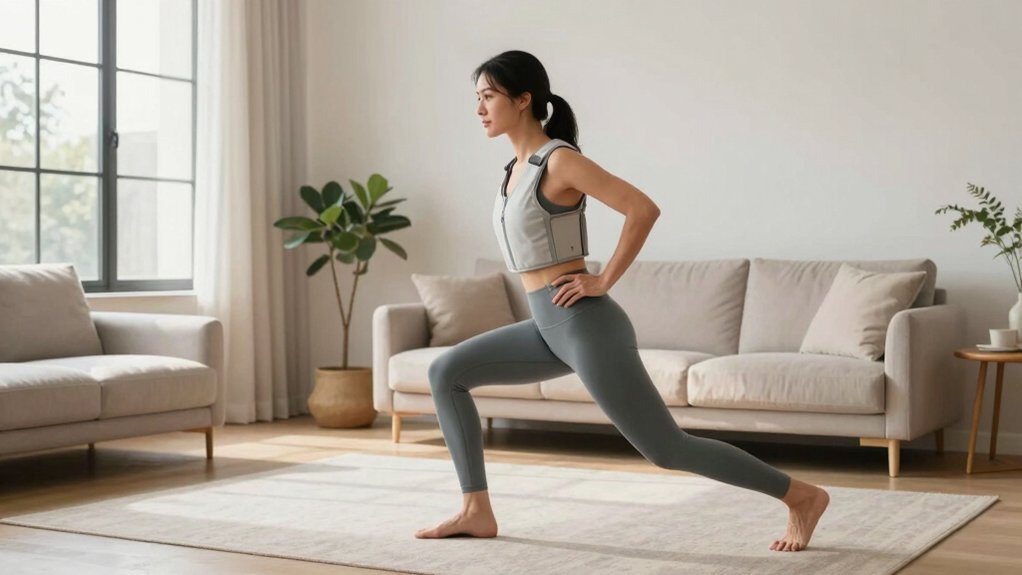
With weighted vest lunges, you train quads, glutes, calves in moves that boost power.
Forward lunges build stride length and control.
Reverse lunges emphasize balance and joint protection, especially when you’re fatigued, keeping knees safe while hips stay level.
Walking lunges pair momentum and endurance.
Try 3 rounds, 12 per leg, 60m.
Walking lunges? Nice touch for cardio blend, too.
Keep torso tall, core tight, chest up.
Adjust vest weight by 4 kilograms each week if reps stay smooth and form stays solid.
Common mistakes? Heels lift, knees cave.
Fix them fast by pausing at the bottom and gliding forward one step, like a cautious sloth doing squats.
Combine these lunge variations with proper form basics to increase strength gains and reduce injury risk during your lower body training.
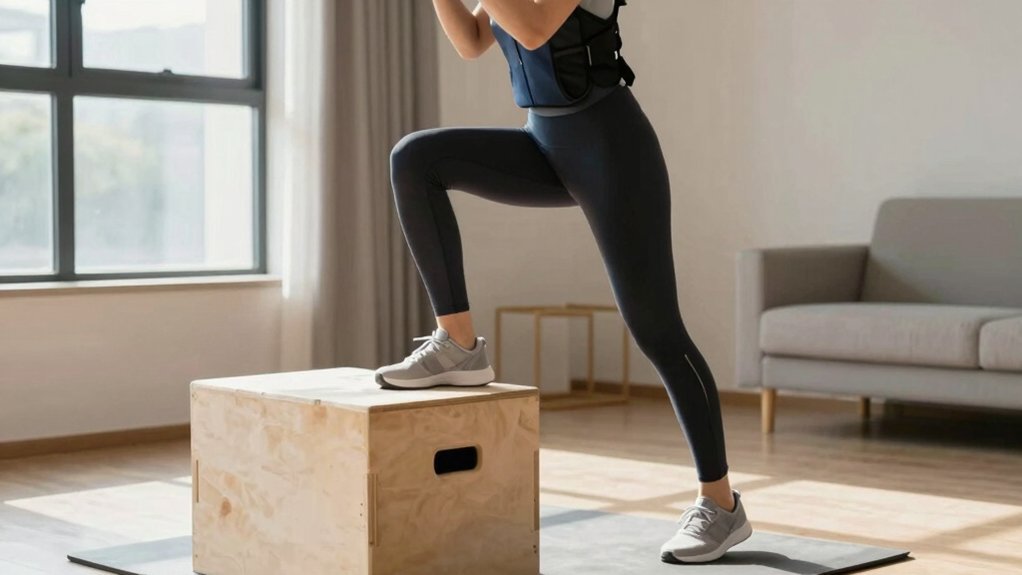
Why raise your glutes with step-ups?
Step-ups fire your glutes and quads together, using elevation to intensify the back leg’s push and the front leg’s control.
Keep toes forward, land softly, breathe.
Box height matters: start at 12 inches, progress to 18 inches as form stays clean and your hips stay level.
Warm up with 8 reps per side first.
Aim for 3 sets of 10 reps each side for balance and power.
Add tempo for extra intensity.
Like planks and other core stability exercises, step-ups require you to maintain proper alignment throughout the movement to maximize effectiveness and prevent injury.
Here are checks you can apply right away:
Keep it steady, progress patiently.
You’ll pivot from step-ups to hip hinges, keeping the vibe of careful control you’ve built already. You’ll feel your hips bend, not your back. Romanian deadlifts and good mornings keep the spine safe. With a vest on, your core locks in, like braces on a door. Start light, then add weight as form stays clean. Practice whoa before lift. Keep chest tall, shoulders back, knees soft. Here’s how:
Progress gauge: 3 sets of 8, tempo 3-1-2. The eccentric phase of these movements, that controlled lowering, drives the most muscle growth, so resist the urge to rush back up. Keep it steady, stay curious, and smile at gradual gains, everyday wins.
Build your balance with calf raises and ankle work. You’ll feel steadier on every step. Calf raises build ankle spring, like a car springing back after a bump in the road. Do two sets of 15 to start. Ankle mobility drills loosen tight ankles, helping you keep balance when you walk on uneven surfaces or carry extra vest weight. Try toe rocks for 30 seconds daily. Do heel-to-toe marches for 2 minutes, heel down, toe up, like a slow moonwalk. Add balance holds on one leg. Stand on a mat, close eyes for 15 seconds, repeat on other leg, then switch. Keep a chair nearby for safety. When you’re comfy, add light dumbbell presses while you balance, just 5 pounds, like a boss mode. For beginners building foundational strength, consider pairing these ankle drills with assisted squats to develop lower-body stability and control.
How do you pace your reps for gains? Tempo guides effort, not just speed, it controls grip, form, and muscle tension across your sets. Use a tempo like 2-0-2-1. For reps, try 3-2-1-0 for 8 – 12 reps, then switch to 4-0-2-1 for heavier pulls. RPE tells you effort on a scale. Aim a 7 – 8 RPE on tough sets, 5 – 6 on easier ones. Progress by small loads, not constant volume. Increase weight every 1 – 2 weeks, when you hit near target reps comfortably. Keep a log, track reps and RPE. Sample week block: Day A, 3 – 4 sets per exercise, slow eccentrics. Day B rotates tempo for variety. For your home gym setup, consider using a foldable weight bench* to maximize space while maintaining exercise quality. Stay curious, stay consistent, and smile!
Why skip mobility and warm-ups when knees and hips scream for care? You shouldn’t. Start with gentle moves to wake joints, warm muscles, and prep tendons. Think 5 – 8 minutes, then 2 – 3 minutes per drill. Here are easy, practical drills you can trust:
Then add a light 3 – 5 minute cardio jog or brisk walk. Finish with 1 minute of quick balance checks. Breathing steady and maintaining core stability during these warm-up movements will prepare your body for the demands of weighted exercises. Breathe steady, stay curious, and progress by tiny increments. You’ll lift safer and feel steadier during weighted movements. Remember-mobility isn’t a tease; it’s fuel for power!
You’ve warmed up; now let’s fix problems. Stay calm when pain hits. Stop right away if sharp pain appears. Check form first: feet stable, knees out, hips level. If pain lasts 2 – 3 reps, rest 60 seconds. Hydration helps, but proper shoes matter too! Common issues: knee aches, shin splints, hip tightness, neck strain. Quick fixes: 1) decrease pace by 20%, 2) drop load by 5 – 10 lbs, 3) adjust straps so vest sits snugly. Technique cues: brace core, breathe steady, engage glutes. Injury prevention: warm up 8 minutes, cooldown 5 minutes, stretch after. When in doubt, swap for bodyweight moves like wall push-ups and glute bridges that build strength without noise. Track soreness 24 – 48 hours. Seek pro advice if you feel numb, tingling, or can’t walk next day. Stick with these steps; progress stays on track.
Yes, you can wear a weight vest if you have knee pain, but proceed carefully: choose light loads, avoid high-impact moves, and monitor pain; consult a clinician, warm up, and prioritize pain-free range of motion.
Begin with around 5-10 pounds. You’ll acclimate gradually, focusing on form over load. If it feels easy after a couple weeks, add 2-5 pounds. Listen to knee cues, and stop if pain flares up early.
Train with a vest 2 to 3 days per week, allowing rest days between sessions. Start light, listen to your body, and avoid pushing to failure every workout for sustainable progress, to stay strong long-term.
No, weighted vest workouts don’t stunt calf growth. Weighted Vest Lower Body Workout can improve it when you progressively overload calves, balance volume, frequency, and recovery, and fuel your workouts with nutrition. Avoid loading that risks overtraining or injury.
Yes-stop immediately if you feel chest pain, dizziness, fainting, severe shortness of breath, or unusual sweating. Also bail if persistent joint or knee/hip pain, extreme fatigue, headaches, confusion, or your form collapses unexpectedly.
You’re ready to move forward!
Keep the vest on, start light, and add 2 kg increments every two weeks for steady gains.
Keep it steady, have fun!
Track reps and RPE closely to gauge progress and avoid overreach during each training session.
Increase load gradually, monitor knees, hips, and form, and pause if pain appears during sessions.
Hit glutes with step-ups and lunges.
Finish with 5 minutes of hip circles and calves stretches to stay balanced daily consistently.
Crush it like a champ!