I threw out my back doing a deadlift at 28 - not even a heavy one, just 135 pounds - and spent the next six months convinced I’d never train hard again. My physical therapist cleared me eventually, but I was terrified to add any extra load, so I stuck to bodyweight stuff in my living room for what felt like forever. Then I started experimenting with a weighted vest, slowly, and honestly it changed everything about how I move now.
Here’s the counterintuitive part: a vest actually distributes weight more safely across your torso than holding dumbbells at your sides or a barbell on your back. The load sits close to your center of gravity instead of pulling on your joints from awkward angles. I didn’t know that when I bought my first 10-pound vest - I just got lucky and didn’t feel worse.
That said, there’s a real difference between using a vest smartly and just strapping weight onto a broken movement pattern. I’ve made both mistakes, and one of them landed me back on the floor with a heating pad. So what’s here is the stuff I actually wish I’d known - the order of operations, the specific cues, the moments to stop.
Honestly, ready to try weighted vests?
First, check your base symptoms today.
If you feel back pain, tingling, or numbness, pause and consult a clinician.
Start with a light load.
Choose 1–2 pounds to test comfort, breathing, and posture for 10 minutes of walking.
Check your posture in a mirror.
If you feel undue strain, take it off, reassess form, and progress slowly, like a rookie on Level 1.
Keep sessions consistent, not abusive.
Run quick checks weekly with these items:
If you pass, add 0.5 pounds next week and test again.
Document results like a coach would-clearly, briefly.
Unlike gym memberships that require monthly fees and travel time, you can perform mobility assessments and readiness checks in your own space without financial or logistical barriers.
How much weight should you start with when you begin weighted vest work? Start light, then test. Begin with 2–5 pounds (1–2 kg) added to your vest. If you feel no pain, you can progress. Listen to your back, not your ego!
Progression should feel controllable, not scary. When you hit 12 reps easily, add 1–2 pounds or switch to longer sets. Stop if sharp pain or numbness appears. Stay curious, safe, and consistent! You’ve got this-steady, patient progress beats risky jumps every single day.

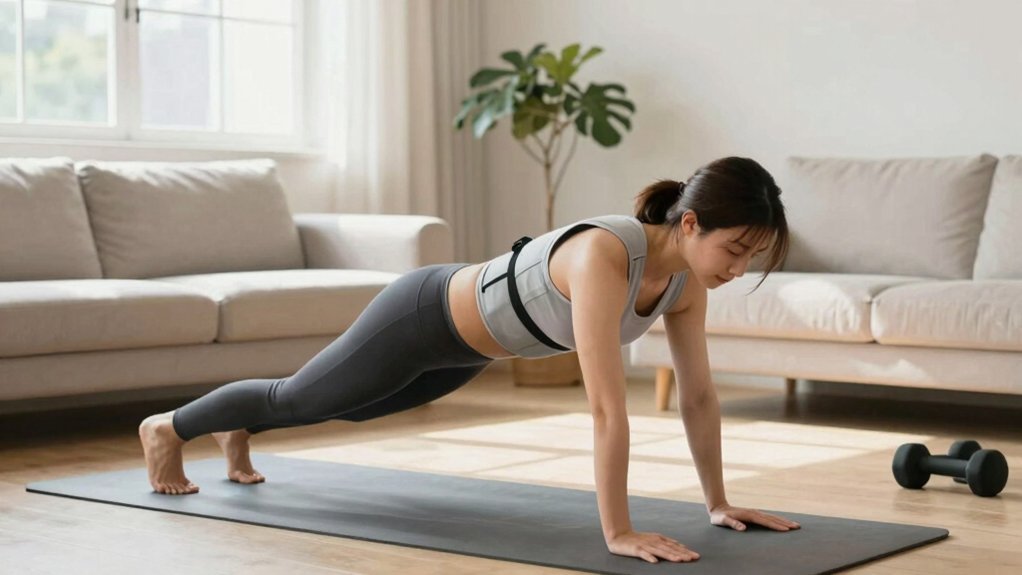
A vest changes how you brace your core.
Keep your feet grounded, hips straight.
Think of your core like a corset of muscles, braced together to protect your spine during every rep.
Breath here matters-exhale as you brace.
Lock your ribs gently, tuck your pelvis, and pull your shoulders back, keeping a tall head.
The vest adds weight, so stay mindful.
Use these quick cues to stay safe, strong, and consistent during each set, even when tired.
Progress gradually with 2–3 reps, then add 5–10 seconds of hold for posture practice each set.
Maintaining core stability during weighted movements prevents lower back injury and improves overall exercise performance.
Progress slowly, 2–3 reps at a time.
Keep smiling, stay steady today.
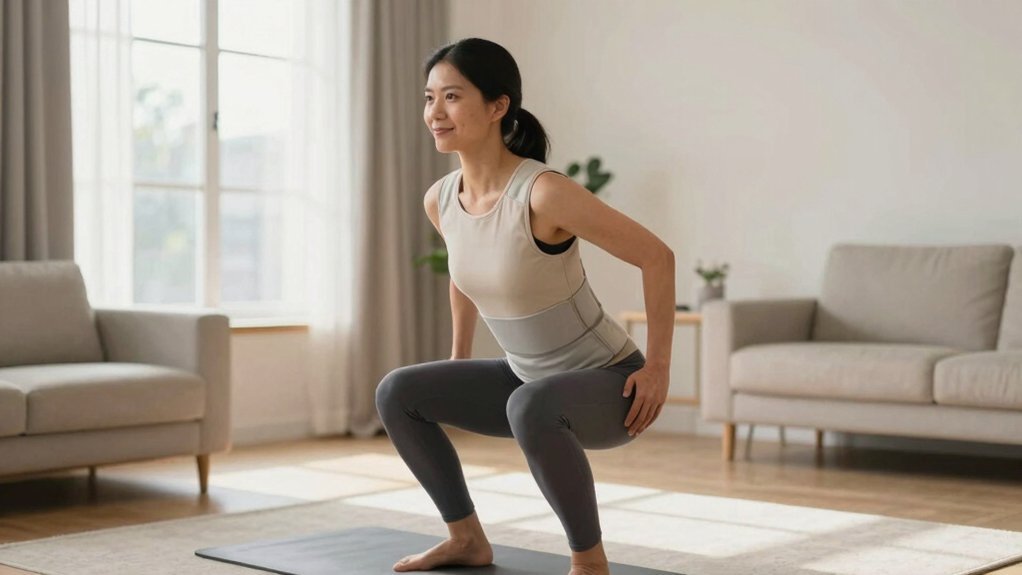
If you’re new to squats with a vest, start light. Progress slowly with a shallow squat, then add 5 extra pounds only after five clean reps. Keep your spine neutral and chest up. Use a chair as a safety cue; sit back gently before rising, so your knees don’t wobble or grate. Pause halfway if you feel strain. Variations include box squats, tempo squats, and split squats, each easing load while teaching control and balance. Track reps and pain. If you notice pain, back off your vest and reps. Consider pairing your weighted vest training with ankle weights* for comprehensive lower body strengthening.
Let’s lock in hip hinge basics.
You’ll master the hip hinge, a hip-dominant bend from the hips, not the spine, hero style today.
Keep your back straight, chest up.
Here are modifications you can use today with clear cues and goals.
Modify range, tempo, and weight.
Start light, 5 pounds, increase by 2 weekly if pain stays.
Use a chair for support.
Consistency beats intensity when backs are cautious.
Track pain, not reps; if you feel sharp pinching, back off and revisit form next session.
For those with limited mobility, assisted squats can help you build foundational lower body strength before progressing to weighted hip hinge variations.
Step-ups, lunges, and lateral moves with support keep you steady while you build strength.
You’ll feel steadier with light loads.
Start with bodyweight only for 2 weeks, then add a vest of 5 kilograms, gradually increasing to 10 kilograms if pain stays low.
Choose 2 sets per session, 6–8 reps.
Keep the knee aligned over toe; shallow bends only.
For reps, 8 to 12 per set, 2 to 3 sets, twice weekly.
If pain spikes, stop and switch to supported squats.
Like bodyweight squats, ensure your chest stays up and core remains tight throughout these weighted movements to protect your back.
Pop culture pep: imagine you’re lifting like Thor!
Form matters first; speed comes later.
Track progress with a simple chest-height scale, and celebrate small wins.
Keep going, you’ve got this-let’s go, champ!
How should you pace tempo, sets, and rest for back-friendly training?
Keep reps smooth and controlled.
Aim a tempo like 2 seconds down, 1 up, with a 1-second pause between phases.
– Use 2–4 sets total, 6–12 reps per exercise, and rest 60–90 seconds between sets.
Listen to form, not ego.
If you feel back pain, cut tempo to four seconds down and pause longer, then reassess load and volume.
Progress gradually, not all at once.
For portable guidance, jot a quick plan: tempo, sets, rest, and a weekly tweak target, like +1 rep.
Celebrate small wins and stay consistent.
Keep your vest light at first, track reps, and review progress every two weeks to stay motivated and safe.
A controlled tempo foundation aligns with proper form principles that prevent injury and build sustainable strength over time.
Back pain isn’t something to ignore, even when you’re chasing gains.
Listen to your body signals.
Pain intensity and duration tell you when to slow down or stop for a moment.
Progress isn’t linear, it’s a map.
Use a rule: stop if pain rises more than 2 points on a 0-10 scale.
Note any leg tingles or numbness.
If you feel sharp pain, cut weight by half and reassess.
Track symptoms daily, log reps, and adjust.
Remember that muscles grow during rest, not during the exercise itself, so adequate recovery between sessions is crucial for safe progression with weighted vests.
Follow these cues daily to progress safely, with steps you can follow at home.
Always consult a clinician if new symptoms appear or pain lasts.
Choose adjustable weights if you’re new to vests or your pain fluctuates; fixed-weight suits you only if a clinician confirms stability. Start light, progress gradually, and monitor pain, range of motion, and fatigue after sessions.
Yes, a weighted vest can aggravate nerve irritation in sciatica if you overload or misalign posture. Start light, monitor pain, and stop if numbness or burning worsens; consult your clinician before continuing weighted loads today.
Stop immediately if you feel sharp or shooting pain, numbness, tingling, or significant weakness; if dizziness, faintness, chest pain, or headache occurs; or if your balance worsens, you faint, or you notice numbness spreading rapidly.
You should pace tasks, layer vest sessions with rest, and don’t push past pain after training. Track posture, use supportive footwear, and avoid lifts. Schedule chores, hydrate, and listen to aches to protect your back.
Yes, you’ll train differently: the vest makes cardio feel tougher but lighter on strength days, and you’ll lift with slower pace and better form on strength days. Adjust intensity, breathing, and recovery accordingly for safety.
You’ve got this, and you’ll feel steadier.
Start light, 5–10% of your body weight, then add 2–3 pounds weekly if form stays solid.
Keep core brace tight, like a shield.
Imagine a superhero posture-shoulders down, spine long, ribs level-so your back doesn’t buckle under load today.
Pause if pain, stop and reassess.
Use safe squats and hip hinges, plus step-ups 2–4 sets of 6–12 reps per movement today.
Progress weekly, or dial back when needed.
Let’s get after it together.